You've been waiting months for your 14-day thru-hike, and it's almost here. But you have a problem, your new hiking boots are way too stiff to be comfortable for the trip, and you leave in just a few weeks. One question remains; how do you break in hiking boots faster?
There are 5 ways you can break in hiking boots faster:
- Wear your hiking boots around the house
- Level up from daily activities to short walks
- Walk on varied terrains with additional weight
- Get your boots wet and go on a 2-3 mile hike
- Test them with a day hike
Even though most hiking boots today don't require a ton of mileage to break in, it's always a good idea to put them to the test before you set out. So, let's look at the details involved in all five ways to break your hiking boots in quicker.
1. Wear Your Hiking Boots Around the House
This is probably the most common sense way to break in new hiking boots; just wear them. It's simple, really.
Put on a pair of thick socks, put in your insoles if you're going to wear them on your actual hike, and go about your business for a few hours. Think of this stage as your trial period - they are just out of the box, almost like you've bought a new car, but haven't driven off the lot.
The hope is that if you recognize any sort of meaningful friction at this stage, you'd be able to return or exchange them without hassle.
While this is by far the most straightforward way to break in your boots quickly, there are a few components to it that often get overlooked.
Wear the Right Socks
If you're new to hiking, you might be thinking, "I'll just throw on my cotton socks and run around the house for a few hours." If you're thinking that, stop thinking that.
And if this is your first time hiking, welcome aboard!
Make sure you're prepared for the occasion - from what to pack to how to get your body physically ready for a hike.
Within the Kenver essential guide to packing for a hike, you'll find that you should never wear cotton socks hiking. They retain moisture far too long, which can help create friction, and ultimately lead to blisters. And moisture can come from rain or sweat, and it will happen.
Instead, wear your thick socks - the same socks you plan to wear hiking. Something that's moisture-wicking like merino wool socks, is ideal.
If you're doing a thru-hike or any long distance, consider getting a liner sock. This can be a game-changer.
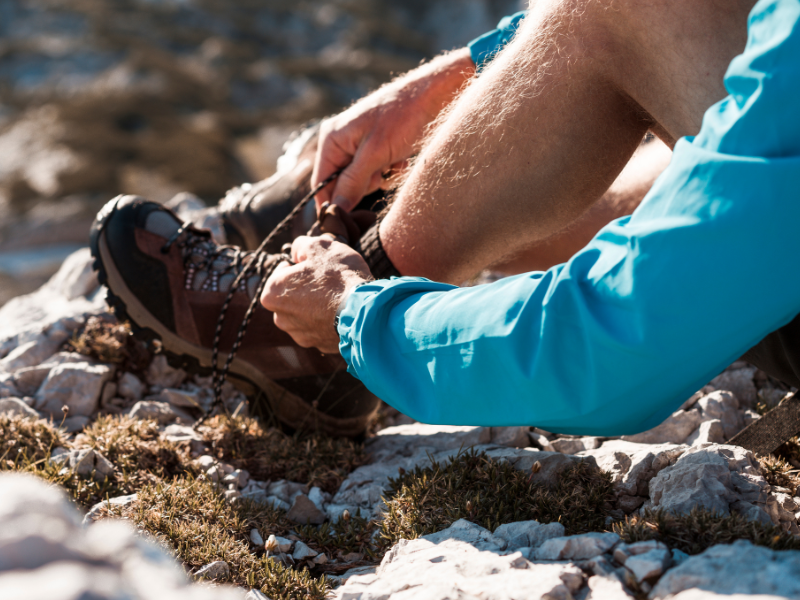
Tighten Your Laces
Ok, this is another tip from Captain Obvious, but you'd seriously be surprised at how many people just don't lace up properly.
The entire point of laces is to keep your foot snug inside the boot, with as little movement as possible. This prevents the whole friction to blister trajectory.
The less movement, the less friction. It's that simple. So make sure you're tightening those laces good and tight before you start walking around in your boots.
They should feel sturdy but comfortable. If you feel constricted at all, you most likely need to loosen the grip.
If you feel like your ankles could move rather freely, then you need to tighten more.
Sit Down With Your Boots On
This is less about breaking in the boots, and more about getting a feel for how they actually feel on your feet. While you might be going 10 miles on your trip, you'll rest along the way.
Sitting allows your blood flow to shift to a different state and gives you a better sense of swelling on your hike.
When you hike or stay on your feet for hours, the vessels in your feet expand to allow more blood to flow through to your muscles. After you settle down for a rest, this can lead to swollen feet, which is completely normal.
But there are times when it can be problematic, especially if you have a poorly fitting boot. This is part of the reason to test it out at home first, instead of learning about it on the trail.
2. Level Up From Daily Activities to Short Walks
Now that you've broken the ice and have spent a few hours getting used to your new boots around the house, it's time to get adventurous.
That's right, let's do some yard work or run an errand.
The key here is to keep the mileage short, but also to start incorporating different terrains and activities.
Terrains here won't be adventurous - think more concrete, asphalt, and grass. Not sand, stone, or mud.
And in terms of slope, stay on level ground. Rome wasn't built in a day, and your boots won't be broken in over 24 hours.
After doing this for a day or so, if your new boots, socks, and all, still feel comfortable, it's time for a short walk around the neighborhood or park.
If you live in the city, this could just be walking to get lunch instead of taking the subway. Or if you're more rural, think of a 1-2 mile loop.
The point is to keep it short but also start mixing up the terrain a bit because this is where you might start seeing some issues with your new boots.
If everything feels good, great! You're ready for your next challenge.
3. Walk On Varied Terrains With Additional Weight
Now that you've strutted around town and feel confident in your new boots, it's time to start mixing up the terrain a bit more.
If you're able, find a place with some different terrains - think grass, mud, sand, rocks, and any other type of earth you wouldn't want to bring into your house.
The goal is to test fit under a simulated environment to your real hike.
You can also start incorporating some weight, ideally, you'd carry your pack with a similar amount of weight to what you bring to the real thing.
But you can work up to that weight over a few days to a week. Whether that's by wearing a backpack or carrying weight in each hand to get started, anything is fair game as long as it packs on some lbs.
Just don't overdo it and risk injury.
And finally, as much as you can help it, stay level terrain. If your only option is a creek bed, you might struggle to find level ground, but even in that setting, find the bank that seems as level as possible.
You're already adding variables to the equation in sand, gravel, and mud - so don't make slope an additional variable. At least yet.
4. Get Your Boots Wet and Go On a 2-3 Mile Hike
You've done all the prep work, your boots are feeling good, and you're raring to go on a hike. But before you do, it's best to get your boots wet.
That's right, get your boots wet.
This could be from rain, a creek crossing, or just dunking them in some water for good measure. Whatever you need to do, just get them sopping wet. And then get ready for a short hike.
This is because once you're out on the trail, your boots are going to get wet one way or another, and it's best to do this in a controlled setting before heading out for miles on end.
If this creates issues for you then you need to know now.
After getting them soaked, it's time for a short hike - think 2-3 miles.
This should help you work out any kinks in the fit and help you get used to wearing them for an extended period in a wet condition.
At this point, if everything feels good, your boots are most likely broken in and you're ready to tackle the final boss of breaking your hiking boots in quickly.
5. Test Them With a Day Hike
Now it's time to put your boots to the ultimate test - a day hike.
This is where you're finally going to push them to their limits on both mileage and terrain.
You should feel confident and have no issues whatsoever at this point, but if you do, it's better to find out on an 8-mile hike than a 100 miles.
Start with an easy to moderate day hike that's no more than 10 miles, but most likely around 8 miles. Realistically, aim for 5-8 miles on your first day hike.
And if you want to get another day hike in before the trip, you could max around 8 miles then as well.
Be sure to also mix up the terrain as much as you can so you're testing them on everything from mud to rocks to sand to grass.
This is your final chance to make sure they feel good and that you have no issues. If everything goes well, then congratulations! You've just broken in a new pair of hiking boots in record time.
How Long Does it Take to Break In New Hiking Boots?
For hiking boots with a mesh blend, it can take around 2 weeks to break them in, for leather hiking boots, it can take 4-8 weeks to break them in. Most mesh hiking boots will feel broken in after a couple of short hikes, 2 weeks is a conservative estimate.
The general rule for breaking in boots is the stiffer they are, the longer it takes to break in. However, a stiff boot will last longer. So there are pros and cons to both scenarios.
If time isn't on your side, and you still have to make your hiking boot purchase, err on the side of mesh hiking boots.
Leather boots will be too stiff to be comfortably broken in for a hike that's only a couple of days or weeks away.
How Do You Break in Hiking Boots in a Day?
While technically possible with some mesh boots, it's highly discouraged to try and break in a hiking boot in one day. Doing so would require uncommonly high wear in a short period, leading to blisters and soreness.
Quite a few people stop by the store and ask this question, and it's always the same answer - a technical "yes", but an anecdotal and emphatic "don't."
On a hiking trip to Cadillac, Michigan, I experienced this firsthand. I had new boots, was relatively new to hiking, and assumed they would wear like normal sneakers.
I was very wrong. My feet started hurting within the first half hour of the trip. And I had to turn back earlier than I hoped. Don't be former me. And don't try to break in your boots in 24 hours.
Here's what will happen if you do.
1. Foot Soreness Beyond Belief
Breaking in hiking boots in less than 24 hours means you have to wear them somewhere from 10-12 hours, and maybe even longer.
Your feet will start to get sore early and begin to get uncomfortable. But you'll fight through it because you want it bad enough. This will have a compounding effect on the pain.
Your feet haven't had time to get comfortable with the shape of the boots, but you've forced the matter.
Time and mileage over time will give you clarity on important details to fit and wear, like if the boot's cuff will cause you issues and mold to your ankle shape.
You can't possibly learn that in a day.
Without an extended timeline to break in your hiking boots, you'll either feel it on that first day or even worse, get a false sense of security only to realize that your feet hurt too much during your actual hike.
2. Blisters - The "B" Word
Every hiker gets blisters. Even the best-fitting hiking boot, worn through time and miles, can cause a blister in certain conditions. It's a natural occurrence in hiking.
However, if you attempt to break in the boots in one day, you can almost guarantee you're in the fast lane to Blister Town right before your trip.
Attempting to power through blisters can cause significant damage to your feet that might take days to weeks to recover. It's no joke.
Blisters need time to heal, and if you give yourself time to properly break in your hiking boots, you could avoid all or at least the worst of them altogether.
Properly acclimating your feet to your hiking boots can help develop callouses in the proper spots - toughening your skin to help manage friction trauma.
You Can Break In Your Boots Quickly, But Within Reason
Yes, you can break in your hiking boots quickly, but that timeline is at best 1-2 weeks. And ideally, for mesh boots, you'd have 2-4 weeks to get them in suitable shape.
For leather hiking boots, the smooth and stiff style, you're going to need far more time.
There's no silver bullet to this though - don't even attempt to break in a hiking boot in 24 hours. You'll regret it, risking injury to your feet before an exciting moment.
If you're on a truncated timeline, opt for mesh hiking boots, and hopefully, you have at least a week or two to apply the 5 methods above to shorten the break-in period of your new kicks.