Waxing a snowboard is simple, even for those with little experience. And if you're new to snowboarding, this is good news, because you'll need to wax your snowboard regularly to keep it in excellent condition. It's a straightforward process and doesn't take up an extraordinary amount of time.
To wax a snowboard, simply follow these steps:
· Select your wax
· Loosen up the bindings
· Clean the board
· Melt the wax and apply
· Cool the wax
· Scrape the excess
· Finish with a structuring brush
This beginner’s guide will go step by step and present detailed information for waxing a snowboard; you'll pick up a new skill that will help you maintain your snowboard for years to come. In the end, you’ll love the professional finish of the wax and how smooth it makes your ride.
Let’s get started.
How to Wax a Snowboard: A 9-Step Guide for Beginners
You've just purchased your first snowboard and after only a couple of days in use, you've noticed the once-shiny wax on the base of the board is now missing.
This magically disappearing wax is considered factory wax (a type of rub-on wax) and once it wears away – which doesn’t take long, by the way – you'll have to apply a new coat of wax.
Now, you could take it to a local shop to wax it for you, or you could apply the wax yourself moving forward. The latter is recommended because you'll need to wax your board with some frequency.
So, even if this is your very first time waxing a snowboard, you can be successful by following these steps.
1. Gather Your Supplies
Each time you wax your snowboard (which could be often depending on how frequently you ride), you’ll need these supplies for an easy and efficient job.
· Structuring brush
· Metal file
· Plastic scraper
· Wax
· Waxing iron
· Cloth
· Snowboard vise
2. Select Your Wax Type
Others will last numerous rides, and depending on the frequency you snowboard could get you through an entire season.
This seems like a good time for a recap of your wax options:
- Fluorocarbon Wax: One of the most popular snowboard waxes is fluorocarbon-based snowboarding wax, which gives the snowboard the ability to glide easily. Because the amount of fluorocarbons in the wax influences its speed, the more fluorocarbons there are, the more costly the wax is. This can make fluorocarbon wax way too expensive for beginners.
- Rub-On Wax: In a pinch, you can rely on rub-on wax. All you need is a sponge and rub-on wax and you’re good to go. The wax adheres simply and easily. If you forgot to wax your board and you want to go riding right then and there, rub-on wax is a good option. That said, it’s not designed for everyday board waxing - and generally adds more frequency of applying wax than you would care for in a season.
- Molybdenum or Graphic Wax: Snowboard wax that contains molybdenum or graphite additives can help prevent electrostatics, which is common in dry, cold snow. If you’re boarding in warm snow, the additives deter dirt. Molybdenum is the better of the two additives and can help your snowboard go modestly faster.
- Hydrocarbon Wax: Hydrocarbon snowboard wax can come in different forms, such as synthetic or microcrystalline, and it can contain paraffin. Synthetic hydrocarbon wax is known for its strength, microcrystalline hydrocarbon wax is long-lasting and robust, and paraffin-based hydrocarbon wax reduces friction for a smooth ride.
Temperature Ratings for Snowboard Wax
Snowboard wax is also classified by its temperature rating, of which there are three ratings to select from:
- All-Temperature Wax: All-temperature or universal snowboard wax is usually made of hydrocarbon, and can be used in a variety of weather conditions. If you're just starting, this type of wax will serve you well.
- Cold-Rated Wax: Cold-temperature snowboard wax is also hydrocarbon-based. If the temperatures will be colder than 25 degrees Fahrenheit, you should use cold-weather snowboard wax.
- Warm-Rated Wax: The third type of temperature rating for snowboard wax is warm-rated wax. On days when the mercury will surpass 25 degrees, this is an ideal type of board wax to use.
3. Take Off the Bindings Before You Wax
Snowboards feature bindings, which are where you insert your feet.
While bindings can help transfer energy when riding, they can make it difficult to wax a board, so you don’t need them.
Some bindings will only loosen and not come out entirely. While removable bindings are ideal, if your bindings won't separate, you'll have to work around them when waxing.
If your bindings fully separate, you'll find out when you loosen the binding screws. Make sure you hold onto the screws for later, as you’ll have to reattach the bindings to your board.
The point of removing the bindings from your snowboard is to prevent damage to both the screws and the bindings themselves.
Unless you’re doing a speedy rub-on wax job, then most snowboard wax is heated to very high temperatures and then applied.
The wax can wreck the bindings and gunk up the screws, neither of which you want.
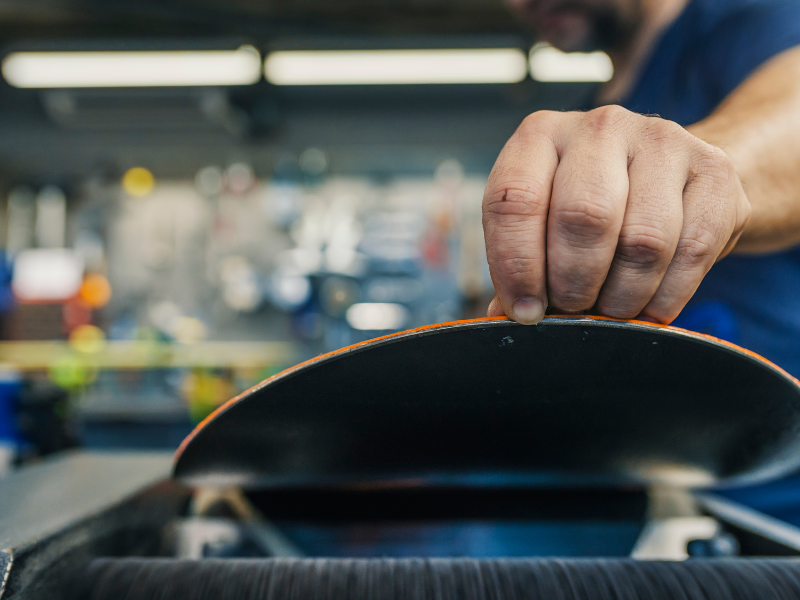
4. Clean the Snowboard
Snowboard wax adheres best to a clean base. If you've never used your snowboard, then you can skip this step, otherwise, it's time to wash up.
There are two methods for doing this: the hot scrape or basic cleaning.
Let’s talk about basic cleaning first.
Using a soft cloth and snowboard cleaner, thoroughly clean the board. You could also supplement a snowboard cleaner with mild soap, such as dish soap. It’s as simple as that.
As for the hot scrape option, this method entails heating snowboard wax and using a waxing iron.
Let’s discuss the waxing iron, as it’s going to come up again in the next step.
What is a Waxing Iron?
A waxing iron is a specialized type of heating iron that is designed for adhering wax to snowboards and skis. It is not the same as the clothing iron you have in your bedroom and shouldn’t be used interchangeably.
Hot Scrape Cleaning a Snowboard
Getting back to the hot scrape method, warm a small portion of snowboard wax, as you only need a thin layer of the stuff.
Pour the wax onto the snowboard while the wax is hot. Then, using a plastic scraper, remove the wax once it cools a little bit but is still very warm.
It's always smart to wear protective gloves while doing a hot scrape, especially for the first time, as you don’t want to get burned.
A hot scrape pulls gunk from the snowboard pores, sort of like how pore strips can do the same for human skin pores.
After you scrape the wax off, use a clean cloth to dislodge any warm wax residue.
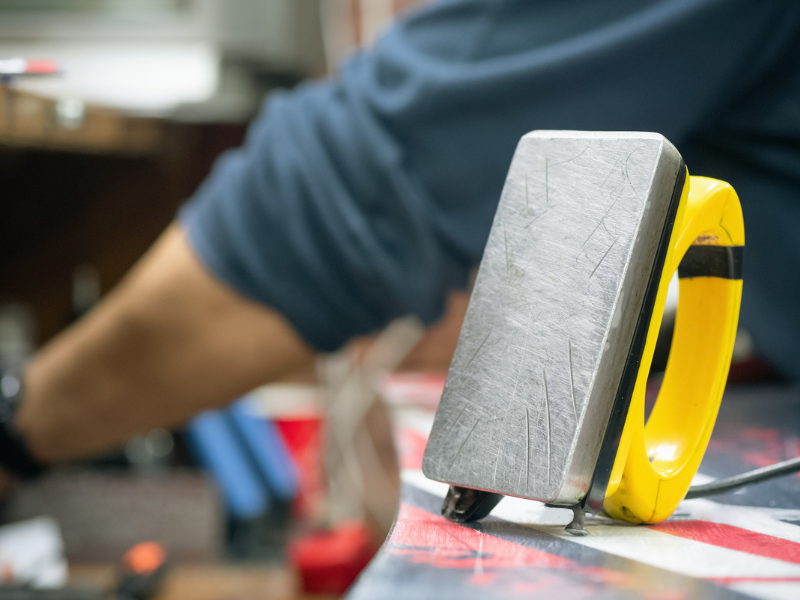
5. Wax the Snowboard
Now that your board is prepped, it’s time to wax it. This is the moment you’ve been waiting for.
First, plug in the waxing iron. Like your clothes iron comes with different settings, the same is true of a waxing iron.
We recommend holding onto either the box the iron came in or the instruction manual, as one or both will include the directions for use.
As a best practice, if the type of wax you selected is cold or hard, then you need to set the waxing iron to a higher temperature. For warm or soft wax, use a lower temperature.
You should only apply snowboard wax a chunk at a time.
Take the chunk and apply it to the base of the waxing iron once the iron has reached the appropriate temperature.
The wax will begin to melt immediately.
When it does, the iron should be positioned at least two inches over your snowboard. You can do four inches over the board as well.
Start by aiming the waxing iron at the board’s tip down to its tail, then from one side to another.
The wax should completely cover the base of the snowboard.
6. Let the Wax Cool
The snowboard wax needs to cool down so it will set. You should wait at least 30 minutes for the wax to reach room temperature.
It can take an hour for some types of wax, so read the drying instructions for your wax.
While the wax is drying, leave it alone. Don’t move the snowboard outside to speed up the process.
Although this seems like it’d be helpful, it’s the opposite. The wax can begin seeping out of the snowboard’s pores, thus negating all the hard work you’ve put into the job so far!
Instead, go watch some snowboarding videos on YouTube and get hyped for the season, or read Kenver's article about the increasing cost of lift tickets and ski rentals.
7. Remove the Excess Wax
Even if you’re seasoned at waxing a snowboard, the wax will inevitably end up in places you don’t want it or glob on too thick in some areas. That’s even likelier to happen to beginners, but that’s fine.
You can always scrape away the excess wax. The best tool for this is a plastic scraper.
We strongly urge you to buy a plastic scraper instead of using a metal one. The metal can be too damaging on your snowboard.
Hold the scraper at an approximate angle of 45 degrees. Then, starting from the tip of the snowboard to the tail, begin to scrape away any excess wax.
The key is to keep the strokes long and overlapping. Work continuously as well for an even result across the entirety of the board.
If you can no longer see any traces of wax, then you can consider this part of the job to be finished.
8. Scrape the Edges
Don’t forget to give the edges of your snowboard some love as well.
If the edges are fully or partially metal, you should still use a plastic scraper. The notches on the scraper will make removing the wax from the board’s edges a quick job.
9. Finish with a Structuring Brush
The last part of the process is to use your structuring brush on the freshly-waxed base of your snowboard.
Run the brush over the base, once again starting from the tip and working your way to the tail. Brush with some force here but don’t put in so much elbow grease that you risk damaging the snowboard’s pores.
The structuring brush serves a twofold purpose.
- First, it will conform to the flex profile construction of the snowboard, which will increase the level of speed and smoothness.
- Second, if there was any wax you didn’t quite get during the last step, the structuring brush will remove it.
What Is the Best Way to Wax a Snowboard?
Using hot wax is generally the better method for waxing a board. It’s more time-consuming than a rub-on wax application but it lasts significantly longer and does a better job of filling in minor irregularities on the base of your board.
Using hot wax will always be the superior method to rub-on wax application.
Although hot wax is more time-consuming than rub-on wax, it requires far less frequency to maintain.
Tips for Waxing a Snowboard
To wrap up, we have a slew of beginner-friendly tips that will make waxing your snowboard with hot wax an even more efficient process moving forward.
Keep the Waxing Iron Moving
If you're waxing a snowboard, it's crucial to keep the waxing iron moving at all times; otherwise, you may damage the board.
Holding the iron in the same spot will allow that area of the board to receive too much wax, which will drip down at very hot temperatures. The board could blister, and then you’d have serious problems. This is one of the three main signs that you need to replace your snowboard.
Thin Layers Work Best
The thicker the snowboard wax, the longer it takes for the stuff to dry.
Not only that but once the wax finally does dry, scraping off the excess from the board will be a far more difficult task than it needs to be. Keeping the chunks of wax small when waxing will prevent the wax from drying on the board too thick.
Remember: Tip to Tail
There’s a reason why we recommend applying and then scraping snowboard wax starting from the tip of the board to the tail.
Wax moves downward when you apply hot wax above the snowboard. To start midway down the board or from the tail to the tip is working against gravity.
That can lead to inconsistent or unappealing results.
Why scrape and brush the snowboard wax from the tip to the tail, you ask? It's all about consistency.
Keep the Plastic Scraper Edge Flattened
The edge of your plastic scraper should include a pointed edge that’s approximately 90 degrees. However, you’ll find that the more often you use the plastic scraper, the duller the edge gets.
This will render the scraper ineffective at removing excess wax from your snowboard.
Rather than toss out the scraper and replace it, you should use the metal file we recommended earlier. The file will restore the sharpness to the edge of the plastic scraper so you can continue using it.
The scraper won’t last forever, of course, but its longevity is significantly extended compared to throwing it out as soon as the scraper edge gets dull.
Know How Hot Is Too Hot
There is such a thing as too hot when it comes to melting snowboard wax with a waxing iron.
If the iron is smoking when you melt the wax, then stop what you’re doing immediately and turn the iron temperature down.
The wax, at such high temperatures, could be nearly molten if the waxing iron is smoking. It would be dangerous for you to continue using the waxing iron at such a high temperature.
You risk possibly burning or blistering your snowboard as well as possibly suffering serious burns yourself.
Ventilate the Area
When waxing a snowboard, it’s best to do so in a well-ventilated area.
You can either open some windows or turn on a ceiling fan, but the room should have fresh air moving throughout.
Safeguard Yourself
Working with hot wax can be dangerous, especially for a beginner. We want to again underscore the value of protective equipment when applying hot wax.
Don a pair of protective gloves and consider face protection such as goggles and/or a face mask. Wear long sleeves and long pants to reduce the amount of exposed skin as you work.
It's absolutely worth it.
Avoid Open Flames
Wax is rather flammable, as it only takes temperatures of 392 degrees for it to ignite.
If yours is paraffin-based wax, the presence of the paraffin considerably increases the flammability of the wax.
That’s why working in a ventilated area is best. More so, you should always avoid any open flames as well as other flammable sources when waxing a snowboard.
Anyone Can Wax A Snowboard
Waxing a snowboard is a task that boarders must commit to roughly every three to four days on the slopes.
The steps are easy to follow and don't require any special equipment or skills, but it does take a little bit of time to get the hang of, especially if it's your first time.
The process of waxing a board can seem difficult at first. As with anything, the more you stick with it, the easier it will become to do.
Waxing a snowboard is one of the most essential aspects of slope maintenance and should be done regularly to ensure a smooth, fast ride.